Sunday, April 28, 2013

I'm In Another Magazine!

I picked up the June 2013 issue of Make Jewellery Magazine today and flipping through the pages I see my tassel bracelet I made a while back. I had completely forgotten about sending it in to them so it was a great surprise to see it printed! 

I made the bracelet inspired by the Star Style tutorial in issue 48 of Make Jewellery and I love it so much I had to share my results with them. And I think they liked it too given the lovely comment they gave me "Such a stunning make, we like the contrast of the delicate bead cones and the chunky chain". 


Saturday, April 27, 2013

Bead Soup Reveal!

It is time for the 3rd reveal for the Bead Soup Blog Party. Unfortunately we are slightly behind but its finally here and has made the reveal more exciting having had to wait a little longer! I can't wait to reveal what I have made so keep reading!

My partner is Natascha from Switzerland. Please visit her website here where you can she what she has made using the beads I sent to her and also visit her shop and see the wonderful gemstone jewellery she makes.

Natascha sent me a beautiful Sardonyx Pendant, Rhodochrosite,  Moonstone, Larimar, Fresh Water Pearls, a Sterling Silver clasp, Rose Quartz, Rhodonite and Sodalith.


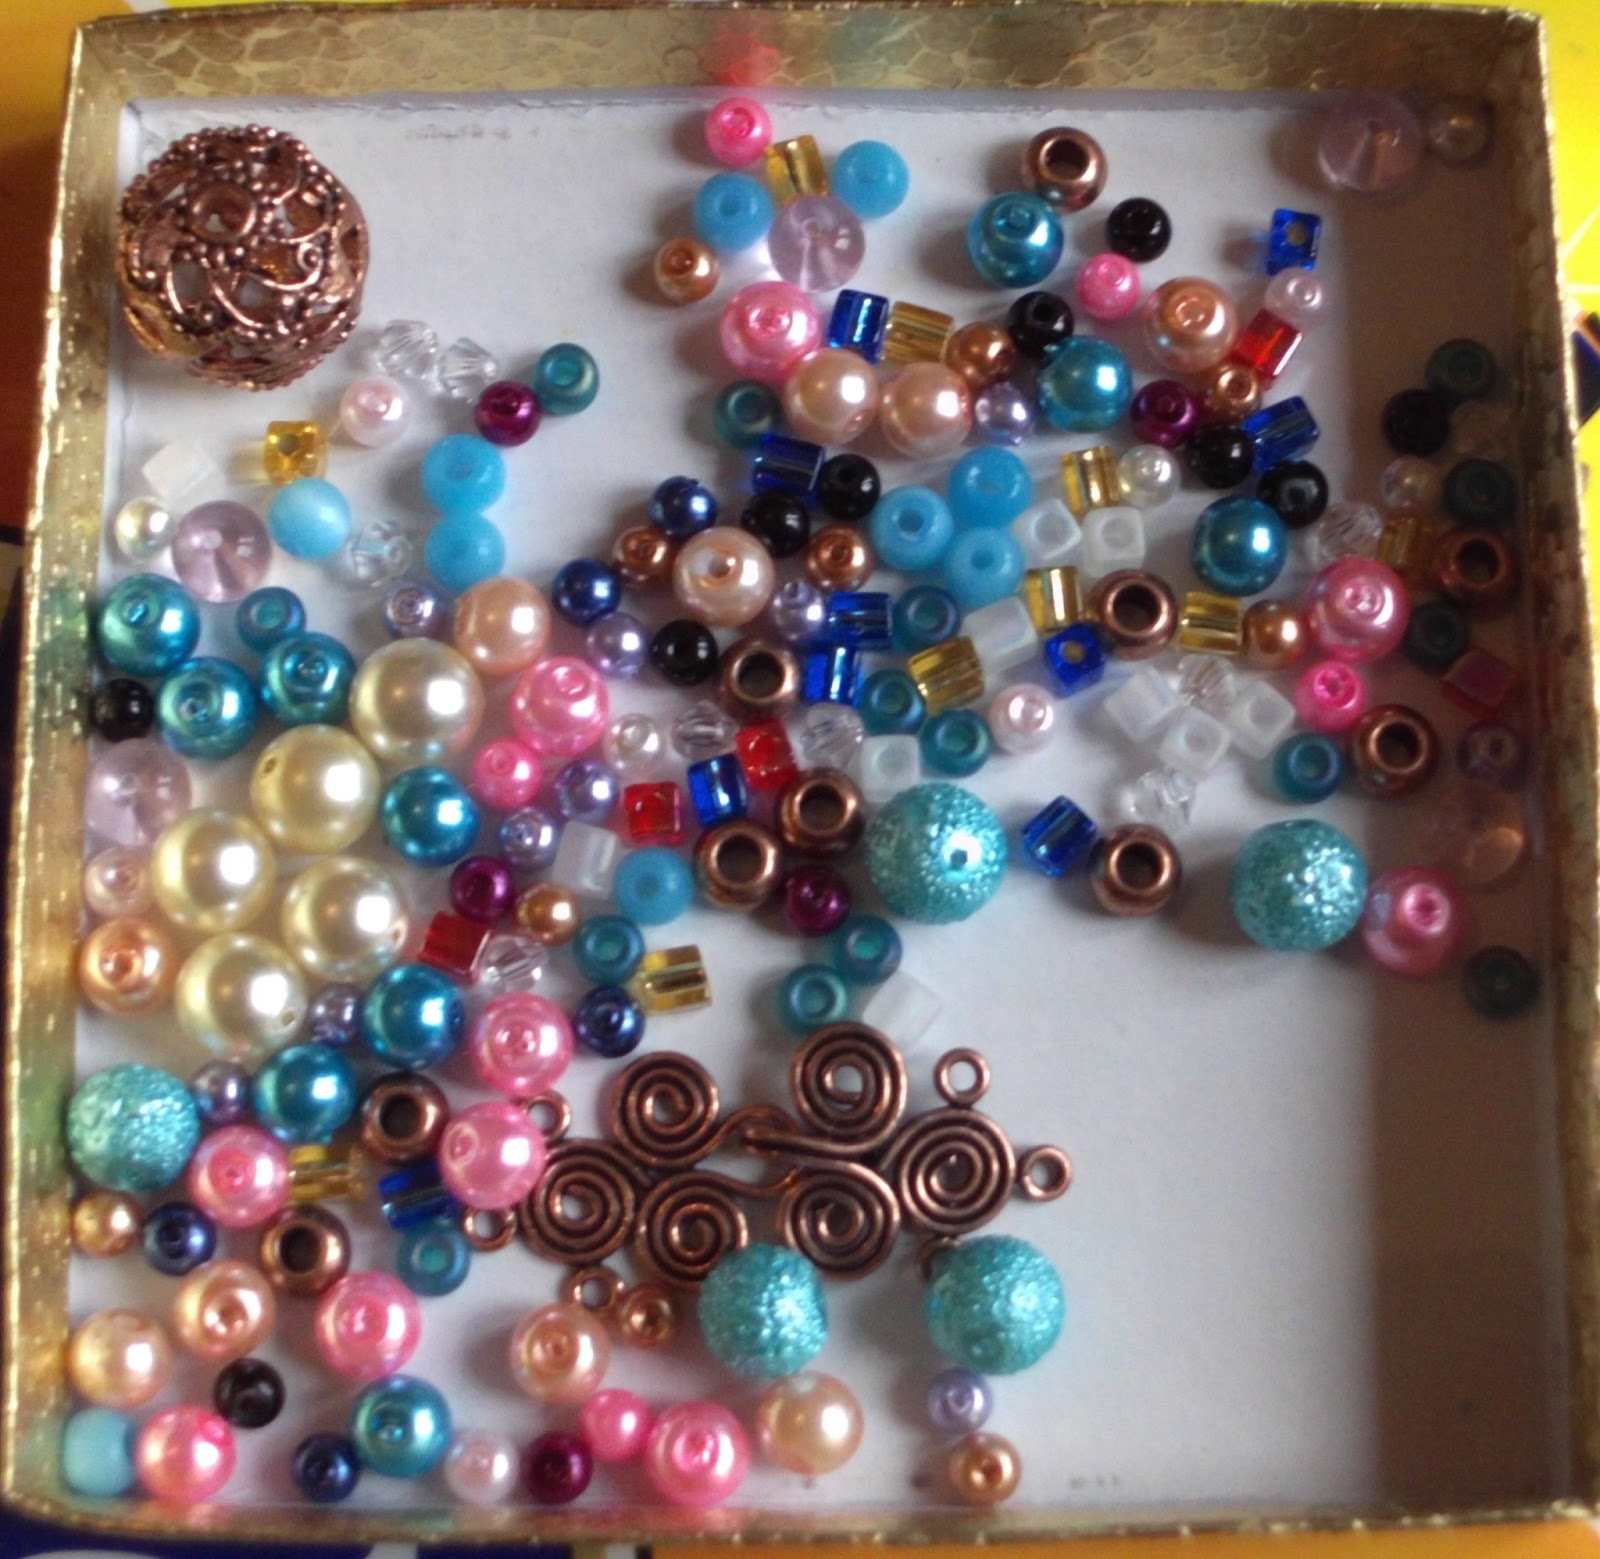
And I sent Natascha a mixed bag of glass beads including pearls, squares, large seed beads, copper beads, a large copper focal bead and a spiral three strand copper clasp.


So now to my first piece using the Sterling Silver clasp, Sodalith beads, Rhodonite beads and the Sardonyx pendant. I also used copper wire I recycled from old electrical wires to make the large copper chain. I have used silver plated wire, silver plated chain, copper and silver plated bead caps and of course some glass pearls. I use these is so many of my pieces that I couldn't leave them out of this one!


I added two beads to the end of the extension chain at the back to keep the colour scheme when seen from the back. This was the first time I had tried to use a pendant like this and it was so beautiful I didnt want to cover it up with wire wrapping so I made a very simple wire bail.

The second piece I made was a bracelet. For this I decided I would use the same copper beads, copper focal bead and copper spiral clasp as the ones that I sent to Natascha because I loved them so much and I thought this would add another little challenge for me to try and work with the same findings.

I made a five stranded bracelet and tried to use some of every bead that Natascha had sent. I worked on the theme of a stacked bracelet that is so popular and trendy right now. I wanted each strand to be like a different bracelet but complimentary of each other. And I'm so happy with how it turned out I have only taken it off a few times since making it! I have come to call it my Morrocan Bracelet because of the colour scheme and I cant wait to were it through the summer!


Here is what I used to make up each strand:
Strand 1: Rhodonite and Champagne Coloured Glass Pearls.
Strand 2: Rose Quartz and Rhodochrosite.
Strand 3: Sodalith, A Large Copper Focal Bead, Silver Glass Pearls and Copper Findings.
Strand 4: Moonstone and Fresh Water Pearls.
Strand 5: Larimar and Copper Beads.


So I hope you have enjoyed looking through what I have made and I hope you will visit Natascha now and see what she has made. And thank you to Lori for all the work that has gone into organising this entire swap. I have really enjoyed working with new materials and challenging myself to make something different using someone else's choice in materials.

Click here to see all the people taking part in the swap and see what they have made! Or if you would rather just have a look at the finished pieces from all 541 participants over the three reveals you can find them on Pinterest.

Saturday, April 20, 2013

Diamond Knotted Cord Bracelet Tutorial


So here is my tutorial to make this bracelet. 

What You Need:

12mm Lobster Clasp
10mm Jump Ring
2 x 6mm Fold Over Cord Ends
2 x 4mm Jump Rings
1 inch Square Metal Pendant 

1 mm Cotton Cord:
2 x 15 inches
2 x 35 inches


1: Using one of the 15 inch strands of cotton cord loop it through a corner of the square and pull tight. 


2: Taking one of the 35 inch strands, find the middle and place behind the strand already connected.


3: Taking the left strand bring it over the middle strand and over the right strand.


4:  Take the right strand and bring it under the middle strand and out over the front on the left hand loop. Pull the knot all the way to the top of the connected strands. This is the first half of a square knot.


5: Now to do the second half of the square knot. take the left hand strand and place under the middle strands and right strand. 


6: Now take the right side strand and bring it over the middle strands, behind the left strand and pull the knot up. You now have one full square knot. 


7: Continue making square knots for about 3 inches.


8: You now need to do exactly the same on the opposite corner of the square.


9: When you are sure you have the length you want you will be left with four strands on either side like this. 


10: Take the fold over cord end and making sure all four strands and inside bend down the sides until secure using a flat nose pliers. You can now trim off the excess cord. 


11: Using a 4mm jump ring attach the cord end and the lobster clasp. 


12: Finally attach the 10mm jump ring with the other 4mm jump ring to the cord end. 


And Your Done!


Colour Variations:
Use different coloured cotton cord and findings to make this bracelet different every time! Below are a few I made using chain instead of a Square.


Thank you for stopping by to see my tutorial. Let me know in the comments below if you have tried to make this bracelet!

Friday, April 19, 2013

Thank You Natascha!

Natascha Marty is my bead soup blog partner and asked me this week if I would be the subject of her weekly "Handmade Community Interview"! You can read it here on her blog. 

Natascha makes beautiful gemstones jewellery that is just stunning which you can see and buy here


Here is a reminder of what Natascha sent to me for the swap. 


And here is what I sent to Natascha


Our reveal has been postponed until April 27th so visit us both then and see what we have made!

Thursday, April 18, 2013

My Next Tutorial!


My next tutorial will show you how to make this bracelet. I have decided to release tutorials only on a Saturday from now on so this one will go live on Saturday April 20th. As this is still quite a new blog I'm trying to find the best structures so that my subscribers and followers will know when to find the new content. So if you haven't done so already click the button on the right panel to follow the blog or copy the url and add it to your usual blog reader. 

Also I would like to thank Craft Gossip for publishing my Byzantine Bracelet tutorial and my Chevron Friendship Bracelet tutorial. They have fantastic tutorials for every form of craft or home decoration!

Monday, April 15, 2013

5000 Views!


This blog has had over 5000 hits already in its 105 days! Thank you to everyone who has visited and left comments and decided to follow me along. Hopefully you have enjoyed my posts and found my tutorials helpful! 

Keep checking back because this Saturday (April 20th) is the final reveal for the Bead Soup Blog Party and you can finally see what I have made and I have a few more tutorials planned over the next few weeks as well. 

You can follow the blog by clicking on the right or using bloglovin.com or find me on Twitter or Pinterest!

Sunday, April 14, 2013

Recycled Copper Chain Tutorial

I have a load of cut off bits of electrical wire hanging around at the moment that are too short for any use and rather than throw them out I decided to use them in a piece of jewellery I'm working on at the moment (its a secret at the moment so come back to see the finished piece next weekend). So I wanted to share how to make a chain out of the scrap copper.

Depending on the type of wire you have there could be a number of strands of copper inside and they could range in gauge but what I have is six strands of wire about 1.1mm thick.


1: After stripping the rubber off the wires you will be left with long strands of wire like this.


2: I use a skewer that is about 5mm around for this part. I wrap the copper around the skewer until the whole piece of wire is now in a coil shape and remove it from the skewer. Click here to see my tutorial on making a coil.


3: Now simply start at the end of the coil you finished and just where the wire starts to overlap cut the wire and you now have a jump ring. Keep doing this until you have no more left on the coil. Click here to see my tutorial on making Jump Rings.


4: You now need to separate all the Jump Rings you have made into two piles and close all the jump rings in the first pile.


5: Open all of the Jump Rings in the second pile.


6: Now you add one closed ring onto and open ring and close it up. You then add one open ring onto the ring you just closed, add a closed ring and close. Continue this on until you have no rings left or have reached the length you are looking for. You can simply add a clasp to the end by using an open ring on either end to make a simple bracelet.


You now have a simple copper chain that you have made for free using something that is just sitting around in the shed or going in the bin. 


Have you made this? Let me know in the comments below how you got on or if you have any other questions. 

Saturday, April 13, 2013

2nd Bead Soup Reveal


Today is the second reveal day for the Bead Soup Blog Party! The map above shows where in the world all of the participants are from over the three reveals! In total there are 541 people taking part from:

Australia,                    Austria,                    Belgium,                     Canada,
Finland,                      France,                    Germany,                    Hungary,
Indonesia,                  Ireland,                     Israel,                         Italy,
United States             Luxembourg,            Malaysia,                    Okinawa,
Poland,                      Portugal,                  Romania,                    Scotland,
Serbia,                      Singapore,                Slovenia,                     Spain,                    
Sweden,                   Switzerland,              The Netherlands,         United Kingdom,
Kingdom of Bahrain,

Click here to see a full list of everyone taking part in the second reveal.
Click here to see the list of all 161 blogs who took part in the first reveal.

You can also follow the blogs as they post their pieces to Pinterest.

Follow my blog by clicking the follow with google button on the right and check back next Saturday 20th April for the 3rd reveal to see what I have made using the beautiful supplies sent to me by my partner Natascha.

Friday, April 12, 2013

Thank You Neads Kolourful World

Neads Kolourful World has written a great blog post about VovsJewellery! You can see it here.

Yummy Green Smoothie
You can find great recipe ideas and travel tips on Neads Kolourful World including the great recipe for the amazing smoothie in the picture above.

So pop by and say hello on this new blog or on Neads Kolourful Cakes which highlights the baking end of Neads life! I'm sure this is only the start of a great and diverse blog!

Sunday, April 7, 2013

You can Follow me on Twitter and Pinterest


Are you on Twitter or Pinterest?


Follow me on Twitter 

Or here on Pinterest

I also have some tutorials on Cutoutandkeep.com so click the link to find my page and tutorials!


Wahoo 3000 Hits!


So I wanted to say thank you to everyone who has visited my blog over the last 3 months. It has taken off a lot quicker than I had dreamed. Seen as this is my first shot ever of blogging and writing tutorials and sharing my ideas I'm shocked how well it has been received. I have now had over 3000 hits!

So again thank you and hopefully it wont be long before that 3000 doubles!!


Saturday, April 6, 2013

Chainmaille Byzantine Weave Tutorial


This is one of the first weaves I learned and is quite simple as it is very repetitive so once you learn the few steps required you will fly through it. I used black and gold coloured rings in the bracelet above but you can use so many different colours the bracelet will look different every time.

What you need:


 4mm Jump Rings (made using 0.8mm wire) I have used Silver Plated here and you can see how to make them by clicking here. 

A Piece of Scrap Wire This gives you something to grip while you get the first few rings worked.

A Toggle Clasp Any closure will do but I prefer toggles.


Two Pairs of Flat Nosed Pliers I use a long and a short just because its what I have and am now used to but any will do as long as they are smooth so as not to mark the metal. 


1: Secure the scrap of wire through two closed jump rings.


2: Now add two sets of two jump rings so it looks like this.


3: Holding onto the loops and wire fold down the top two jump rings and open the two apart that are now at the top.


4: Open a new jump ring and capture the two rings that you had folded down and pull them up.


5: Now do this again with a second ring and you can see you pattern starting to form.


6: You now need to add two sets of two jump rings
again like you did at the start.


7: Again fold the top two jump rings down and and split the next two apart.


8: Using an open jump ring capture the two folded down jump rings and pull them up.


9: And do this again with a second jump ring. You now have your pattern. Just follow the same steps over and over until you have your desired lenght for your bracelet or necklace. Simply attach your toggle clasp using jump rings and your done!


Enjoy!

Thursday, April 4, 2013

Diamond Patterned Friendship Bracelet


I have been working on this one for ages. Its not to complicated a pattern and I cant wait to try it out in different colours. I also decided on this one to use a toggle clasp as a closing rather than the traditional plating and tying the ends around my wrist. I like this option as I think its a little more sophisticated and grown up.


I'm really looking forward to wearing this stacked with a few of the other style bracelet like he chevron pattern and the simple four coloured ones from previous posts.